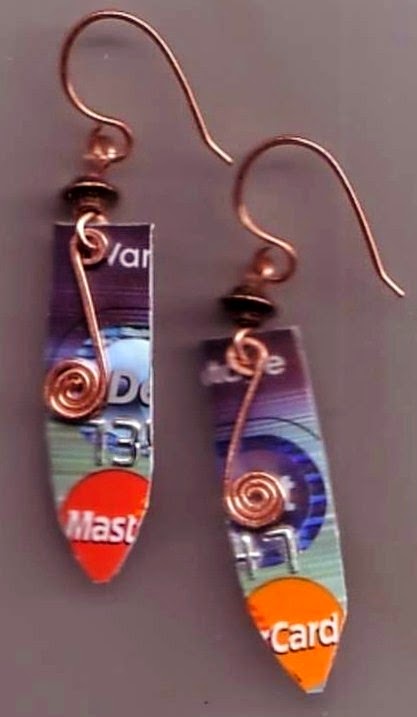
3 Simple Wire-Working Jewelry Making Secrets
Make Bracelets Even a Grandma Would Love
Some would-be wire jewelry makers never get started because they see it as oh-so-complicated. If you start out simply and take it from there, it won't seem like such a challenge. It's easy for even a beginner to make a simple bracelet, or even a necklace, with the right techniques.
With figure 8s you can make basic wire bracelets that even a grandma would love. In these few steps, you can learn to do that. Or you can add details to make your bracelet as fancy as you choose. To get you started, here are a few of my best wire-working secrets.
Secret #1 - Find Your Rhythm
Simple wire jewelry making is not complicated. It's finding a rhythm, working your hands, controlling the wire before it controls you. Learn to rotate your wrist smoothly, and that single ability will help you make great wire jewelry.Use a comfortable grip. Mimic the rhythm of turning a car key or revving a motorcycle, a rotation originating in your wrist. Now use your rhythm to make loops. And speaking of loops...
Secret #2 - Practice Your Loops
To form a loop, grasp the tip of your wire with round-nosed pliers, firmly enough that if you let go with one hand, your pliers will still hold the wire in place. Not too tight, you'll weaken the wire.Use your rotating rhythm and a bit of downward pressure. Roll your pliers into the wire and see how easily it takes on a rounded shape.

Secret #3 - You Can do Just About Anything With a Figure 8
Learn the simple figure 8 technique below and you can use them to create quick bracelets, necklaces, and other wire jewelry projects. You can also use figure 8s as connectors instead of jump rings.Now Make a Bracelet
Tools
- Pliers
- Round Nosed Pliers
- Wire Cutters
- Metal files, sandpaper or emery files (Like in beauty supply stores)
- Hammer and anvil (Optional)
Materials
- 16 gauge copper wire from a craft or hardware store.
- You can also use sterling silver wire but it will cost you
- Try 20 G for a delicate look
Step 1 - Create Figure 8s

- Cut 1 & 1/4 inch wire pieces, one for each 1/2 inch of bracelet length.
- Use a fine line marker to mark the center of each wire piece to help with symmetry.
- Hold a wire piece with the tip facing you.
- Grasp the tip with your round nose pliers (close to the thick part of the tip) Remember your rhythm and rotate the pliers away and into the wire to form a loop that ends at your center mark.
- Turn your wire piece around with the first loop facing downward. Finish your figure 8 by forming a loop in the opposite direction of the first.
- For a smoother look and feel, file or sand rough wire ends.
- Connect figure 8s for the length you prefer.
Don't undo your lovely figure 8 loops when you use them. Open them outward, like a door. Assemble them, then close them the same way.
Step 2- Create A Shepherd's Hook Clasp

- Cut a 2-inch wire piece
- Form a loop at one end.
- At a point, 1/2 inch above your loop, curve wire into a hook (See fig 4)
- For a bolder hook, cut a longer piece of wire and form a large curve with a dowel rod or pen
- Smooth end with files and sandpaper
- Angle tip for an authentic look
Step 3 - Add a Charm
Keep your wire jewelry simple or enhance it. Try using a handcrafted charm or purchase something unique from a bead shop or craft store.For a bracelet with a little more pizzazz, add dangles and beads the full length of your bracelet.
Okay, now go make something out of wire.
Jewelry-making love from
The Nice Lady
©2014


Comments
Post a Comment